
Install php 7.4, mysql, apache, phpmyadmin on ubuntu 18
Being a PHP developer we frequently come across requirements where we need to install xampp or Apache, PHP, Mysql on ubuntu system (whether server or on local machine). It is not very straight forward. As different versions of PHP are released over time so there are different apt PPA (personal package archives) that maintains the php binaries. Follow the steps below to install PHP 7.4 along with MySql, apache and PHPMyAdmin.
Step 1: installing php 7.4
For run update command :
sudo apt-get updateInstall software-properties-common using apt command so that additional PPA can be added and installed easily
sudo apt -y install software-properties-commonNow add ppa:ondrej/php PPA which has PHP binaries that we are going to install
sudo add-apt-repository ppa:ondrej/phpNow refresh the apt so that it can recognise newly added repository.
sudo apt-get updateNow use apt to install desired php version
sudo apt -y install php7.4While working with php we need additional packages. We can easily install them one by one or in a single command like:
sudo apt-get install -y php7.4-cli php7.4-json php7.4-common php7.4-mysql php7.4-zip php7.4-gd php7.4-mbstring php7.4-curl php7.4-xml php7.4-bcmathStep 2: Installing apache
Apache is available in default apt repositories. So we can easily install it with apt install command.
sudo apt install apache2Here are some useful command to start / stop or restart apache.
service apache2 restart
service apache2 stop
service pache2 start
systemctl start apache2
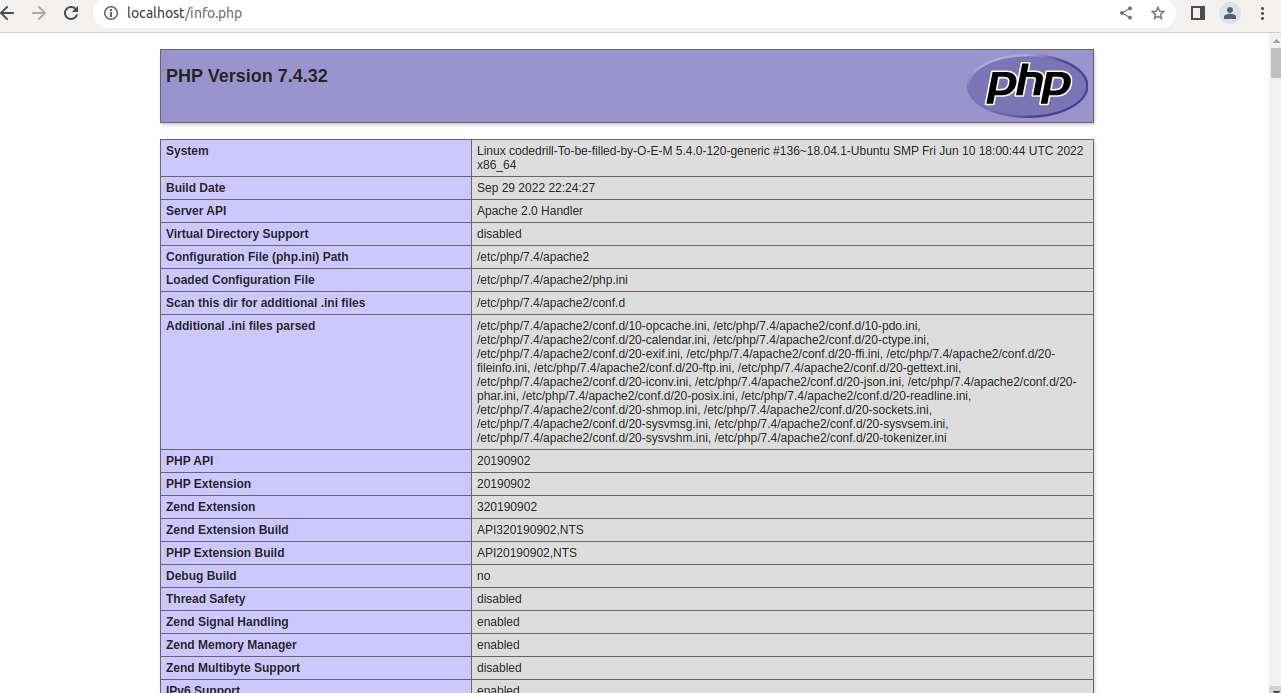
systemctl stop apache2To check if PHP 7.4 is working correct with apache, create a file named info.php in following location:
/var/www/html/info.phpAdd simple phpinfo() function to it. (you might need to change your html folder permission to add a file to it. Use sudo chmod -R 0777 /var/www/html
<?php
phpinfo()
Then open your web browser and type : localhost/info.php
Step 3: installing mysql
sudo apt install mysql-server
sudo systemctl start mysql.service
For first time installation lets enable security script.
sudo mysql_secure_installation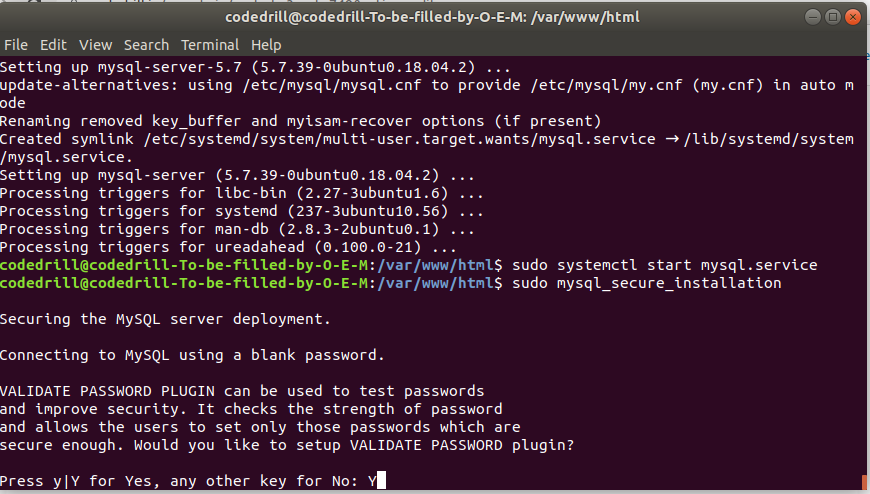
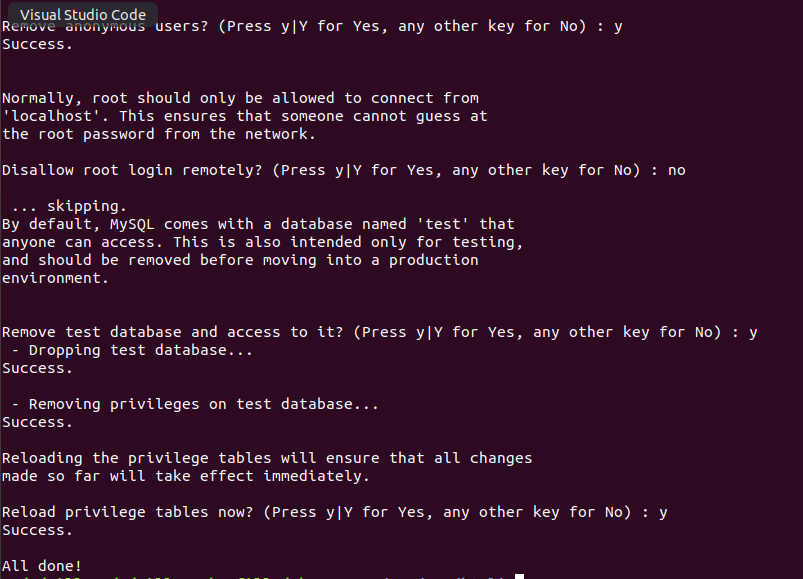
It will ask questions for enabling security like: password strength, removing test users etc. Answer then accordingly as per your needs.
You will be able to connect through command line using sudo mysql command but not using root password that we just set. This is because authentication method is not setup yet.
Lets set the authentication method for root (this is recommended for local machine setup.). For servers you should create separate users for managing/accessing database.
** ‘password’ is the password that you want to set. please change it accordingly.
sudo mysql
ALTER USER 'root'@'localhost' IDENTIFIED WITH mysql_native_password BY 'password';
Now flush the privileges.
FLUSH PRIVILEGES;Exit mysql by pressing ctrl+c.
Now you should be able to access it using : mysql -u root -p
You can write a small script to test your connection through php as well.
<?php
$servername = "localhost";
$username = "username";
$password = "password";

// Create connection
$conn = new mysqli($servername, $username, $password);

// Check connection
if ($conn->connect_error) {
  die("Connection failed: " . $conn->connect_error);
}
echo "Connected successfully";
?>
Step 4: Installing phpmyadmin
PHP myadmin is php based tool which provides a nice UI interface to interact with your mysql database.
sudo apt install php-gettext php-mbstring
#OR
sudo apt install php7.4-gettext php7.4-mbstring
sudo apt install phpmyadmin

Select apache2 as your server by pressing “spacebar” on keyboard and then press enter.
As we have already installed Mysql, lets select <Yes>
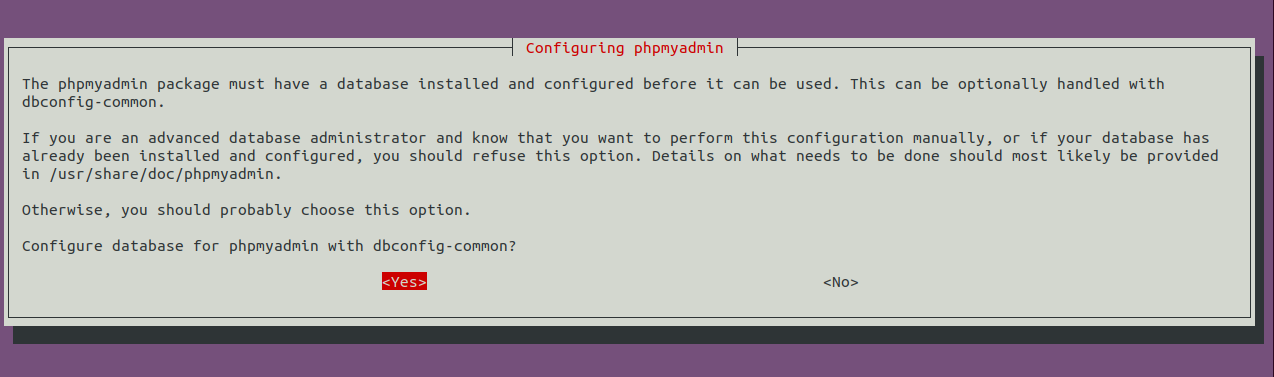
Then enter password for MySQL

Now you should be able to access your phpmyadmin at localhost/phpmyadmin
You might also be interested in setting up multiple php versions for different websites on same server (or your local machine):
https://codedrill.in/multi-php-using-php-fpm-ubuntu/

Leave a Reply
We'll try to resolve your queries asap.
Recent Posts
22.Jan.2024 | codedrill | Drupal
Drupal 7 to 10 migration services
Hire Codedrill for Drupal 7 to Drupal 10 migration. We also offer complete drupal development services from
11.Jan.2024 | codedrill | Apache, Hosting, Linux, MySQL, PHP
Install php 8.2, mysql, apache, phpmyadmin on ubuntu 22
All the new CMS and frameworks have started support for php 8.2. And it is quite easy to install php8.2 on